After I got my new MacBook Pro M1 at work, I quickly realized that I couldn’t connect a second monitor using my regular USB-C dongle…
It turns out that the 2020 MacBook Pro M1 doesn’t support more than one monitor natively.
BUT there is a workaround - the DisplayLink technology allows you to connect up to 5 external displays to a MacBook. So I started researching to find myself a docking station.
I work as a web developer, and the additional two monitors are crucial to my productivity. So I asked my boss to buy this dock, so I could try it and go back to using two monitors.
It turned out that the option that best suited me was the Dell D6000 and it also became standard in our company for new Macs.
If anyone doubts whether the use of DisplayLink is noticeable, I must admit that I have not noticed it either visually or in the load on the Mac.
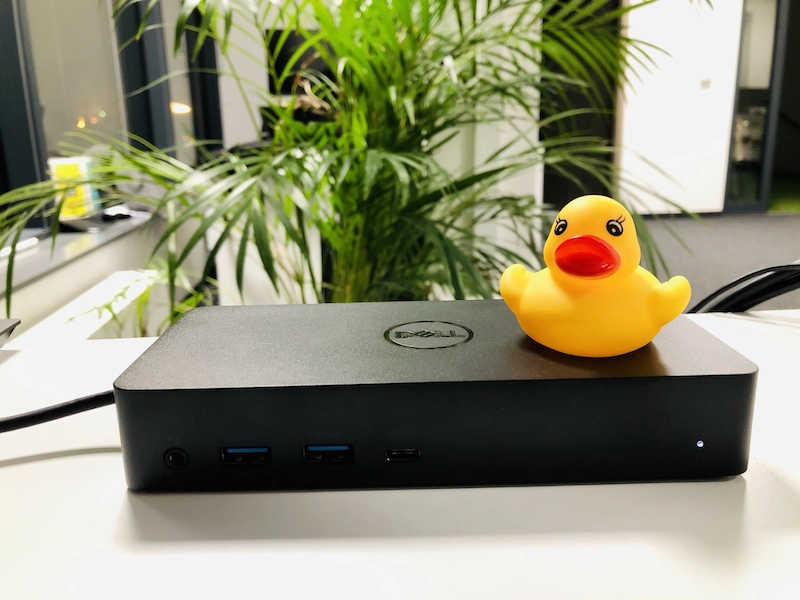 Dell D6000 view from the front
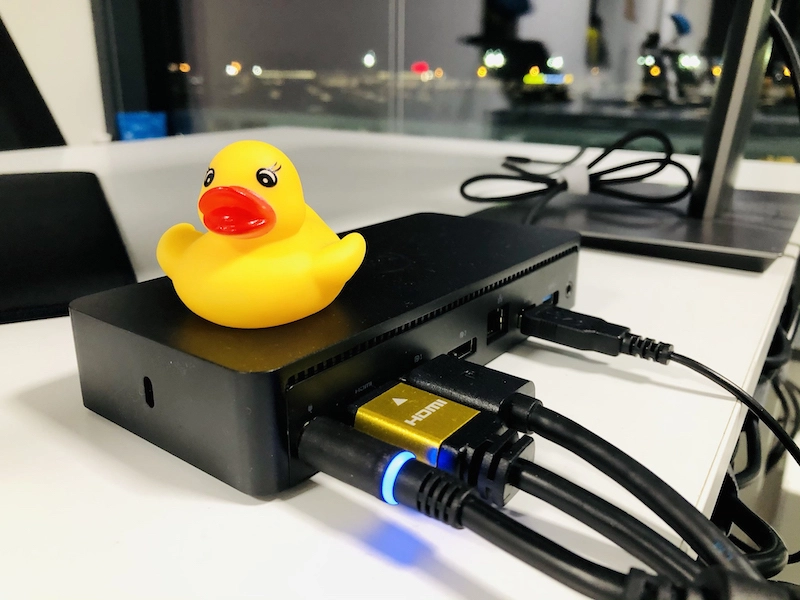 Dell D6000 view from the back
The attached pictures show the connection of the first monitor via HDMI and the second via a DisplayPort cable. Additionally, the most ordinary USB mouse is connected to the dock.
The most significant advantage, however, is Power Delivery.
Thanks to this, I do not have to use the original charger. Just plug in one USB-C cable and everything you need works.
As a pedantic person, I am pleased with cable management. Everything is neatly hidden behind the desk, and nothing unnecessarily takes up space on the desk.
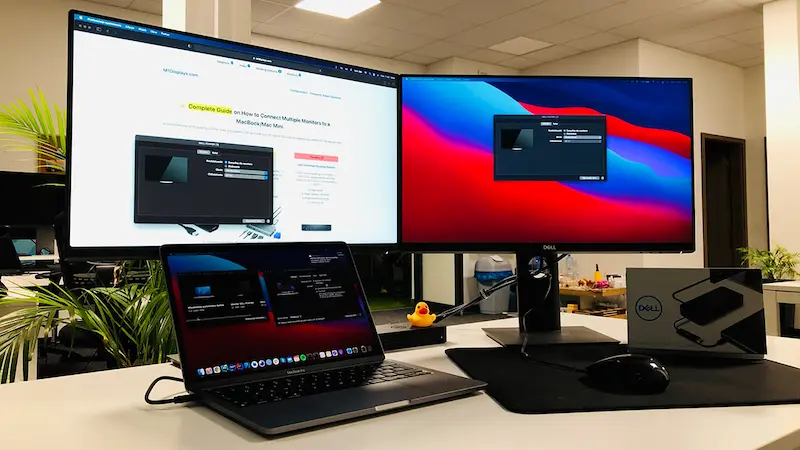 My Setup with Dell D6000 at work
